Sparkle & Shine Sustainably: DIY Kitchen Cleaners That Actually Work
The kitchen is the heart of the home, but keeping it clean often feels like a never-ending battle against grease, grime, and germs. For years, the go-to solution has been an array of conventional cleaning products promising sparkling results. However, these cleaners often come with a hidden cost: harsh chemicals that can irritate skin and airways, contribute to indoor air pollution, and wash down drains to impact waterways, all wrapped up in single-use plastic packaging.
Good news! You can achieve a sparkling clean kitchen without the harsh chemicals and excessive waste. Simple, effective, and eco-conscious DIY kitchen cleaners are easy to make at home using common, inexpensive ingredients. They work just as well (if not better!) for most everyday cleaning tasks and are infinitely kinder to you, your wallet, and the planet.
Ready to ditch the conventional cleaners and embrace a more sustainable sparkle? Here are some simple DIY kitchen cleaner recipes that actually work.
Why Go DIY & Eco-Conscious with Your Cleaners?
- Healthier Home: Reduce exposure to potentially irritating or harmful chemicals.
- Environmental Friendly: Less chemical runoff into water systems and drastically reduced plastic packaging waste.
- Cost-Effective: Basic ingredients like vinegar and baking soda are significantly cheaper than commercial cleaners.
- Reduced Clutter: You'll need fewer specialized products.
- Empowering: Knowing exactly what ingredients you're using is incredibly satisfying!
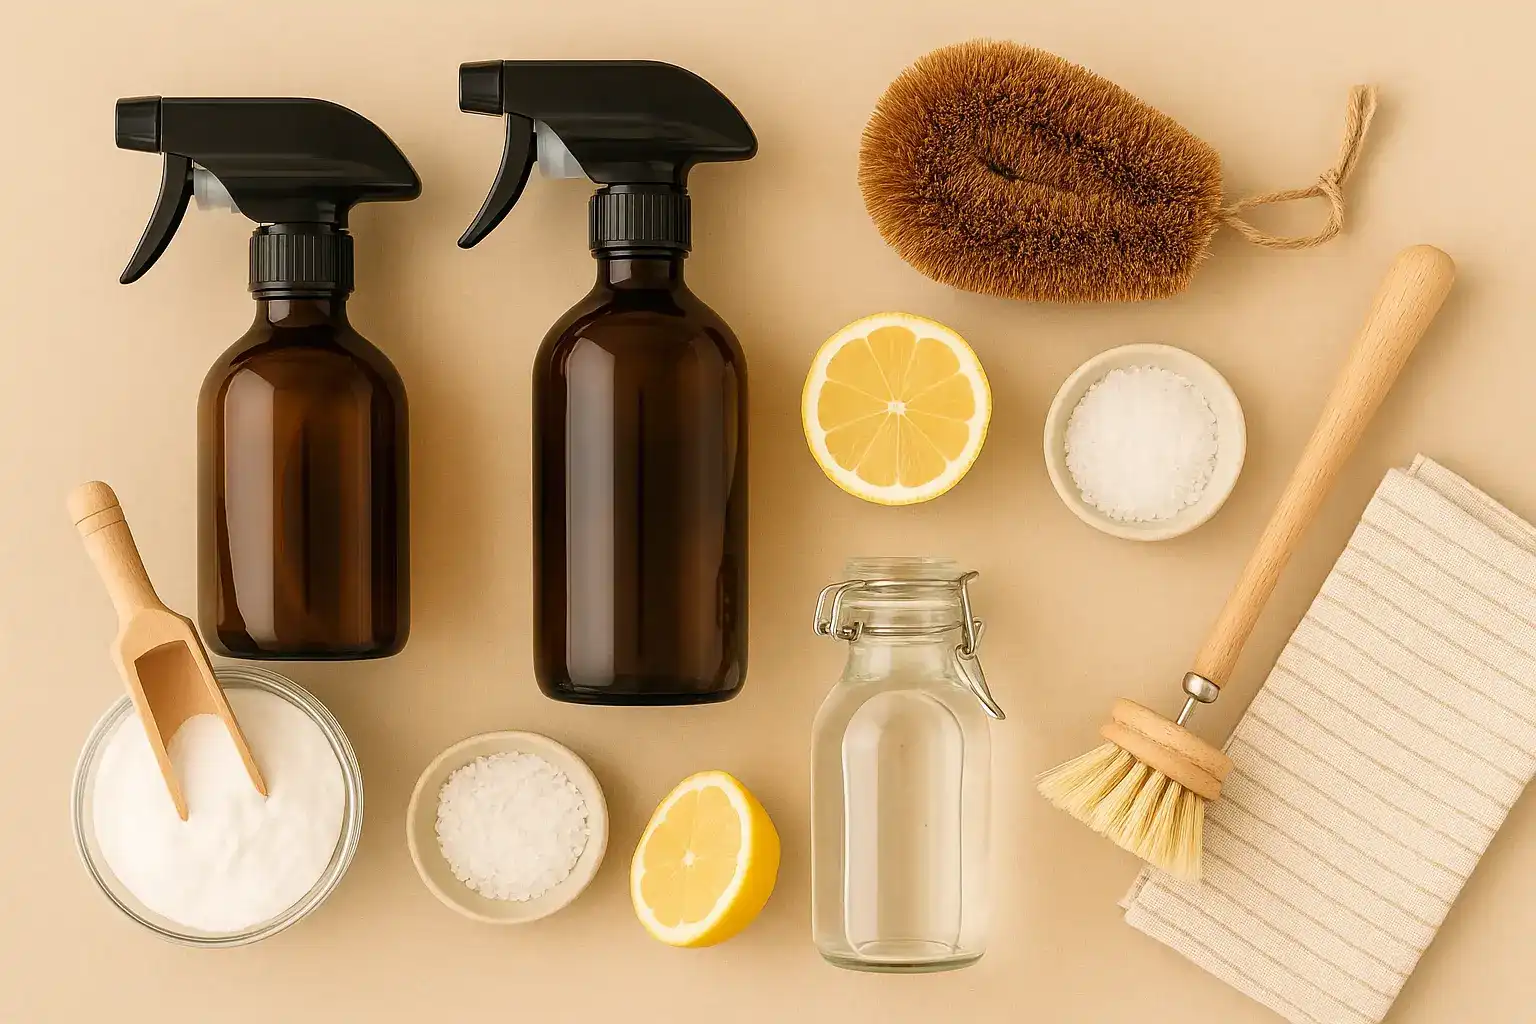
Your Essential DIY Cleaning Arsenal (The Power of Simple Ingredients)
You don't need a chemistry lab to make effective cleaners. A few pantry staples are incredibly powerful:
- White Vinegar: An acidic powerhouse that cuts through grease, dissolves mineral deposits (like limescale), disinfects (though not a registered disinfectant like bleach or hydrogen peroxide), and deodorizes.
- Baking Soda (Sodium Bicarbonate): A gentle abrasive that's perfect for scrubbing, absorbs odors, and reacts with acid (like vinegar) to create a fizzy lift for loosening grime.
- Lemons/Citrus Peels: Naturally acidic, they help cut grease and leave a fresh, pleasant scent.
- Hydrogen Peroxide (3%): A powerful disinfectant and whitener. Store in its original bottle as light degrades it.
- Castile Soap (Liquid): A concentrated vegetable-based soap that's a versatile, biodegradable cleanser and degreaser.
- Water: The universal solvent, essential for diluting and rinsing.
- Essential Oils (Optional): Can add a pleasant scent (e.g., lemon, orange, lavender) and some have mild antibacterial properties (e.g., tea tree, eucalyptus), but use sparingly and ensure good ventilation. Note: Use essential oils with caution around pets and young children, and never ingest them.
Simple & Effective DIY Kitchen Cleaner Recipes
These recipes cover most of your kitchen cleaning needs:
1. All-Purpose Surface Spray (Vinegar-Based)
- Great for: Countertops (except stone!), sinks, stovetops (cool), appliance exteriors, inside the fridge, sticky messes.
- Ingredients:
- 1 part White Vinegar
- 1 part Water
- Optional: Citrus peels (soak in vinegar for a week, then strain out) or 10-15 drops essential oil.
- How to Make: Combine ingredients in a clean spray bottle (reuse an old cleaner bottle or use a new glass/plastic one). Shake gently to mix.
- How to Use: Spray directly onto surface, let sit for a few seconds on tough spots, wipe clean with a microfibre cloth.
- Caveat: DO NOT use vinegar on natural stone surfaces like granite, marble, or quartz, or on grout. The acid can damage or etch the surface.
2. All-Purpose Surface Spray (Castile Soap-Based)
- Great for: Countertops (including stone!), sinks, stovetops, general degreasing, surfaces where vinegar isn't suitable or you prefer no vinegar smell.
- Ingredients:
- 1 cup Water
- 1-2 tablespoons Liquid Castile Soap
- Optional: 10-15 drops essential oil.
- How to Make: Combine ingredients in a clean spray bottle. Shake gently to mix.
- How to Use: Spray directly onto surface, wipe clean with a microfibre cloth. Rinse with a damp cloth if residue remains.
- Caveat: Do not mix Castile soap directly with vinegar or lemon juice in the bottle – they will react and create a clumpy mess. Use one type of cleaner or the other.
3. Baking Soda Scrubbing Paste
- Great for: Sinks (stainless steel, porcelain), stubborn stovetop grime, scrubbing pots and pans (exterior), tile grout (test first).
- Ingredients:
- 1/2 cup Baking Soda
- 2-3 tablespoons Water (or enough to make a thick paste)
- Optional: A few drops of liquid dish soap or a splash of vinegar (will fizz!).
- How to Make: In a small bowl, mix baking soda with just enough water (or liquid) to form a thick, spreadable paste.
- How to Use: Apply paste directly to the soiled area. Let it sit for 5-10 minutes for tough grime. Scrub with a sponge or brush. Rinse thoroughly with water.
- Caveat: Baking soda is abrasive, so test in an inconspicuous area on delicate surfaces first.
4. Streak-Free Glass Cleaner
- Great for: Appliance doors (oven, microwave, fridge), windows, mirrors.
- Ingredients:
- 1 part White Vinegar
- 4 parts Water
- Optional: 1 teaspoon Cornstarch (helps reduce streaking).
- How to Make: Combine ingredients in a clean spray bottle. Shake well, especially if adding cornstarch (shake before each use).
- How to Use: Spray onto glass surface, wipe immediately with a clean, dry microfibre cloth or crumpled newspaper for a streak-free shine.
5. Drain Freshener & Mild Unclogger
- Great for: Deodorizing drains, clearing minor clogs (not for fully blocked drains!).
- Ingredients:
- 1/2 cup Baking Soda
- 1 cup White Vinegar
- How to Use: Pour the baking soda down the drain first. Then, pour the vinegar down the drain. It will fizz and bubble (this is the chemical reaction working!). Let it sit for 15-30 minutes. Follow with a flush of hot (preferably boiling) water.
- Caveat: This is for maintenance and minor clogs. For significant blockages, you may need a drain snake or professional help.
6. Microwave Steamer Cleaner
- Great for: Loosening dried-on food splatters inside the microwave.
- Ingredients:
- 1 cup Water
- 1/4 cup White Vinegar or juice of 1/2 Lemon
- How to Use: Combine ingredients in a microwave-safe bowl. Place the bowl in the microwave and heat on high power for 3-5 minutes, or until the liquid boils and the window is steamy. Let the bowl sit in the closed microwave for 5-10 minutes to allow the steam to loosen grime. Carefully remove the hot bowl and wipe the inside of the microwave clean with a damp cloth.
Important Tips for DIY Cleaning Success
- Label Your Bottles: Always label your DIY cleaners clearly so you know what's inside.
- Reuse & Recycle: Reuse old spray bottles or invest in durable glass or metal ones. Use old t-shirts or towels cut into rags instead of paper towels.
- Store Safely: Store DIY cleaners out of reach of children and pets, just as you would conventional cleaners.
- Ventilation: Even with natural cleaners, ensure good ventilation by opening a window or using a fan.
- Never Mix: While many natural ingredients are safe on their own, some combinations are dangerous. NEVER mix Hydrogen Peroxide and Vinegar together in the same bottle. This creates peracetic acid, which is highly corrosive. They can be used sequentially (e.g., spray with peroxide, then wipe down with vinegar after a few minutes), but never mixed and stored.
- Test First: When trying a new cleaner on a new surface (especially stone or delicate finishes), always test in an inconspicuous spot first.
- Elbow Grease & Hot Water: Natural cleaners often work best when combined with the power of hot water and a little physical scrubbing action.
- Manage Expectations: For years of baked-on grime, a natural cleaner might require repeat applications or more scrubbing than a harsh chemical stripper. Be patient!
Switching to DIY kitchen cleaners is a simple, empowering step you can take towards reducing chemicals in your home, minimizing plastic waste, and saving money. Pick one recipe to try this week and experience the satisfaction of a clean, sparkling kitchen achieved the eco-conscious way!
Related Blogs
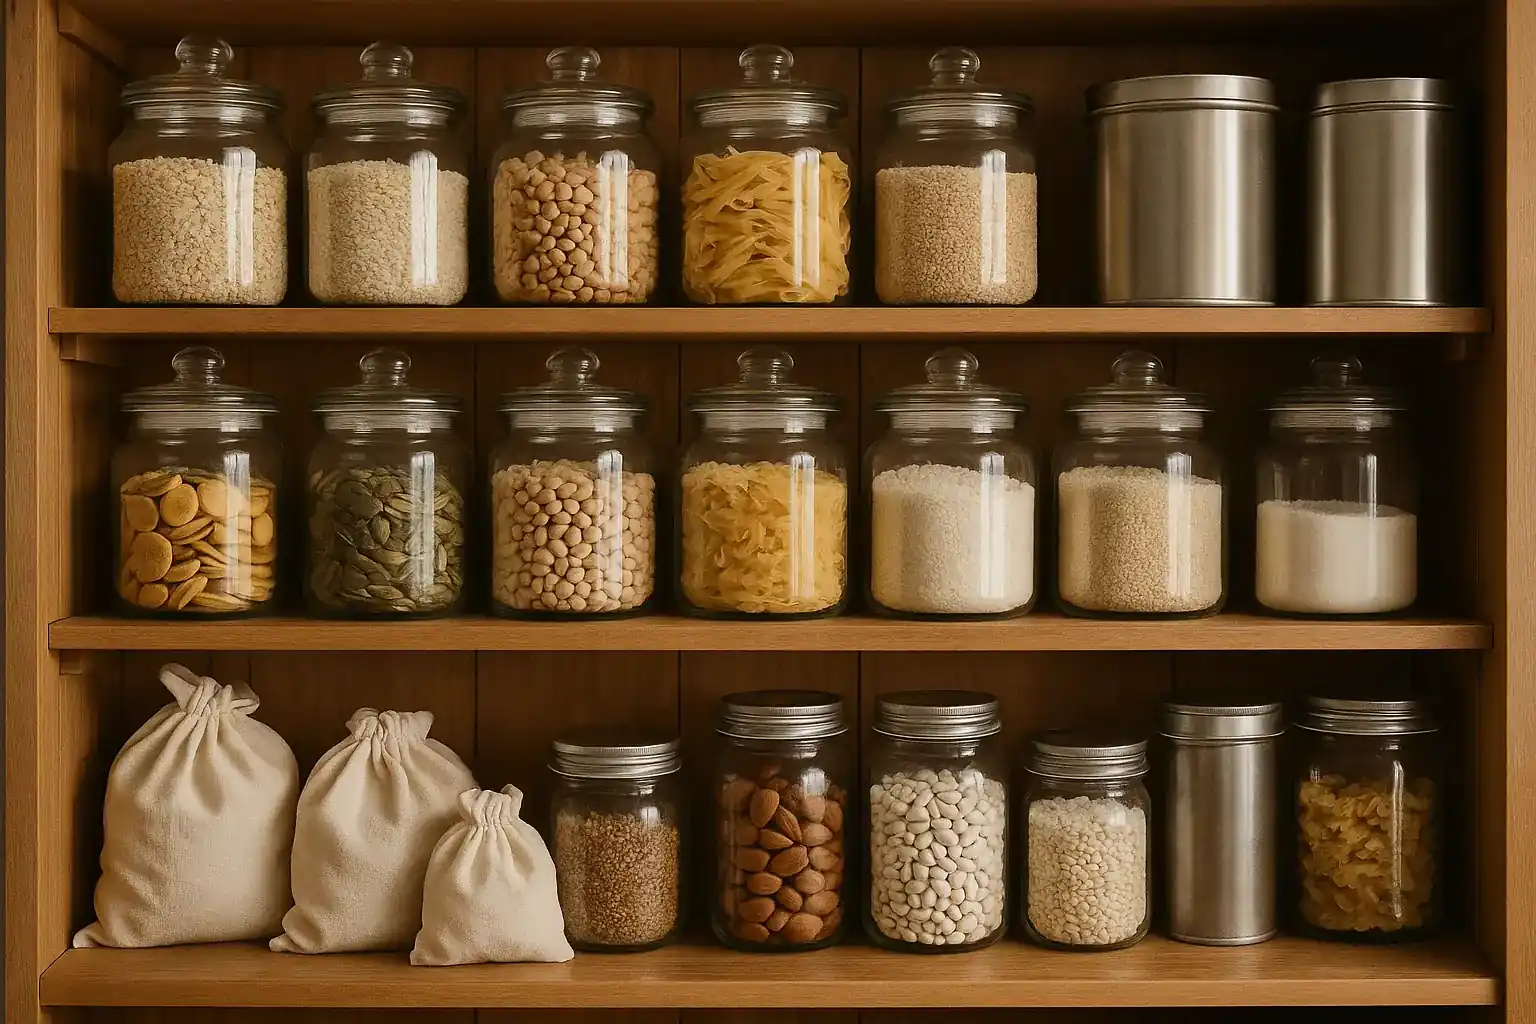
Say Goodbye to Single-Use: 10 Easy Swaps for a Plastic-Free Pantry
Insights on 10 easy swaps for a plastic-free pantry in a sustainable way.

A Week of Delicious Transformations: Zero-Waste Recipes Using Your Leftovers
Insights on a week of zero-waste recipes using leftovers in a sustainable way.
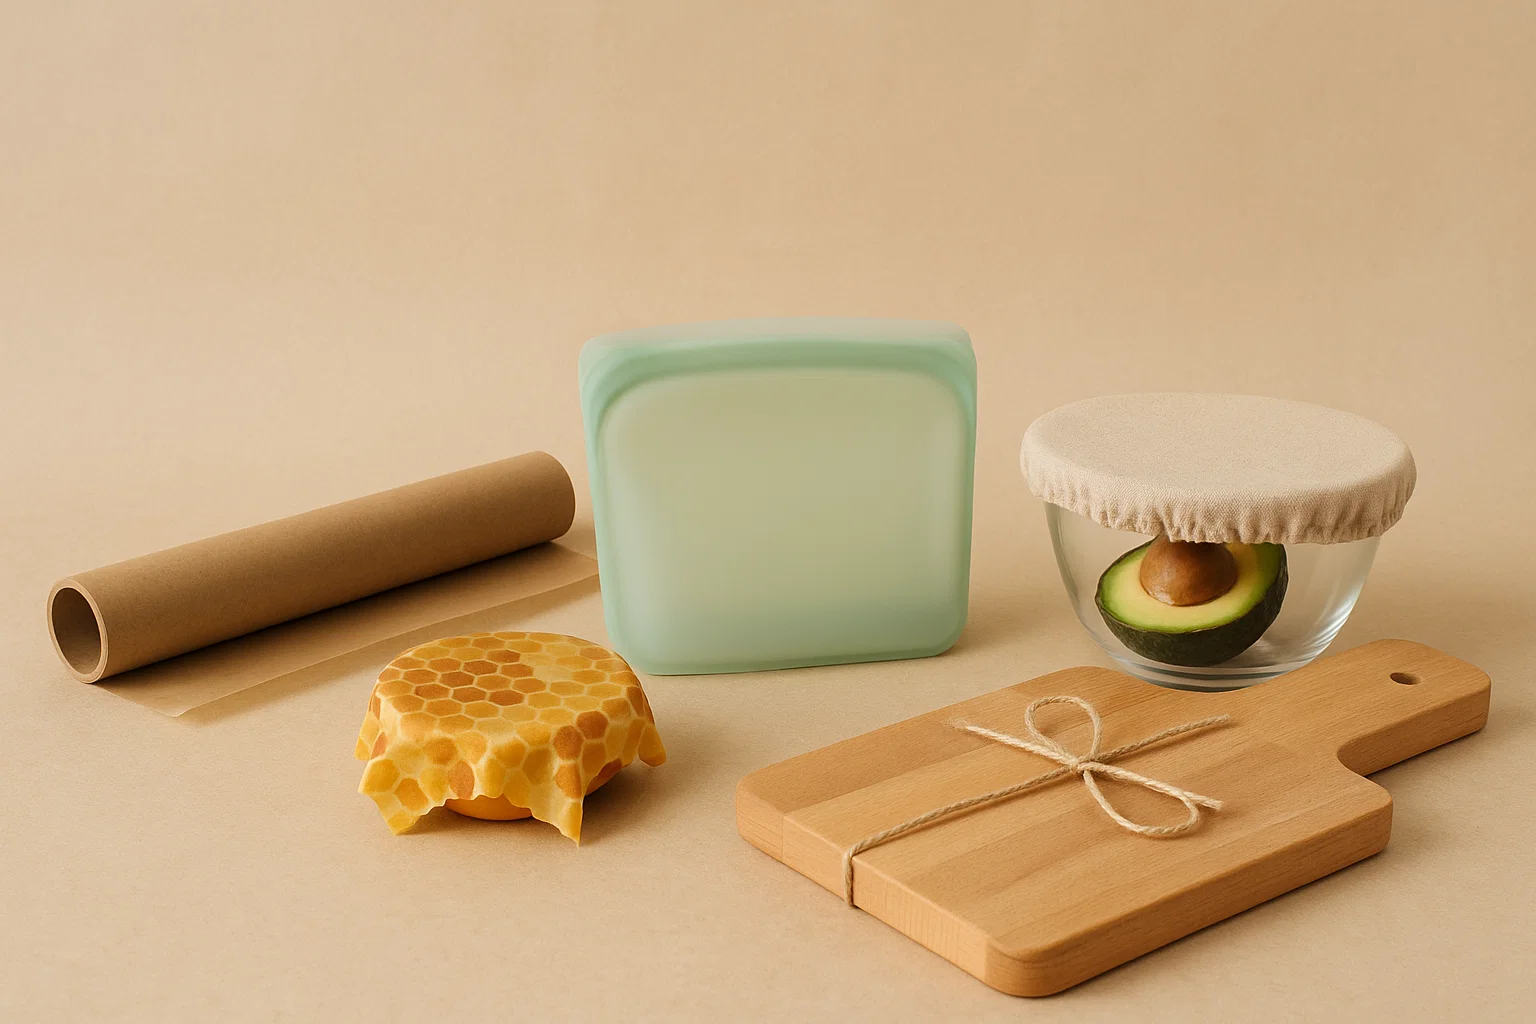
Beyond the Foil: Reusable Alternatives for Sustainable Baking and Food Storage
Opt for reusable silicone baking mats, covered bakeware, and beeswax wraps instead of aluminum foil.
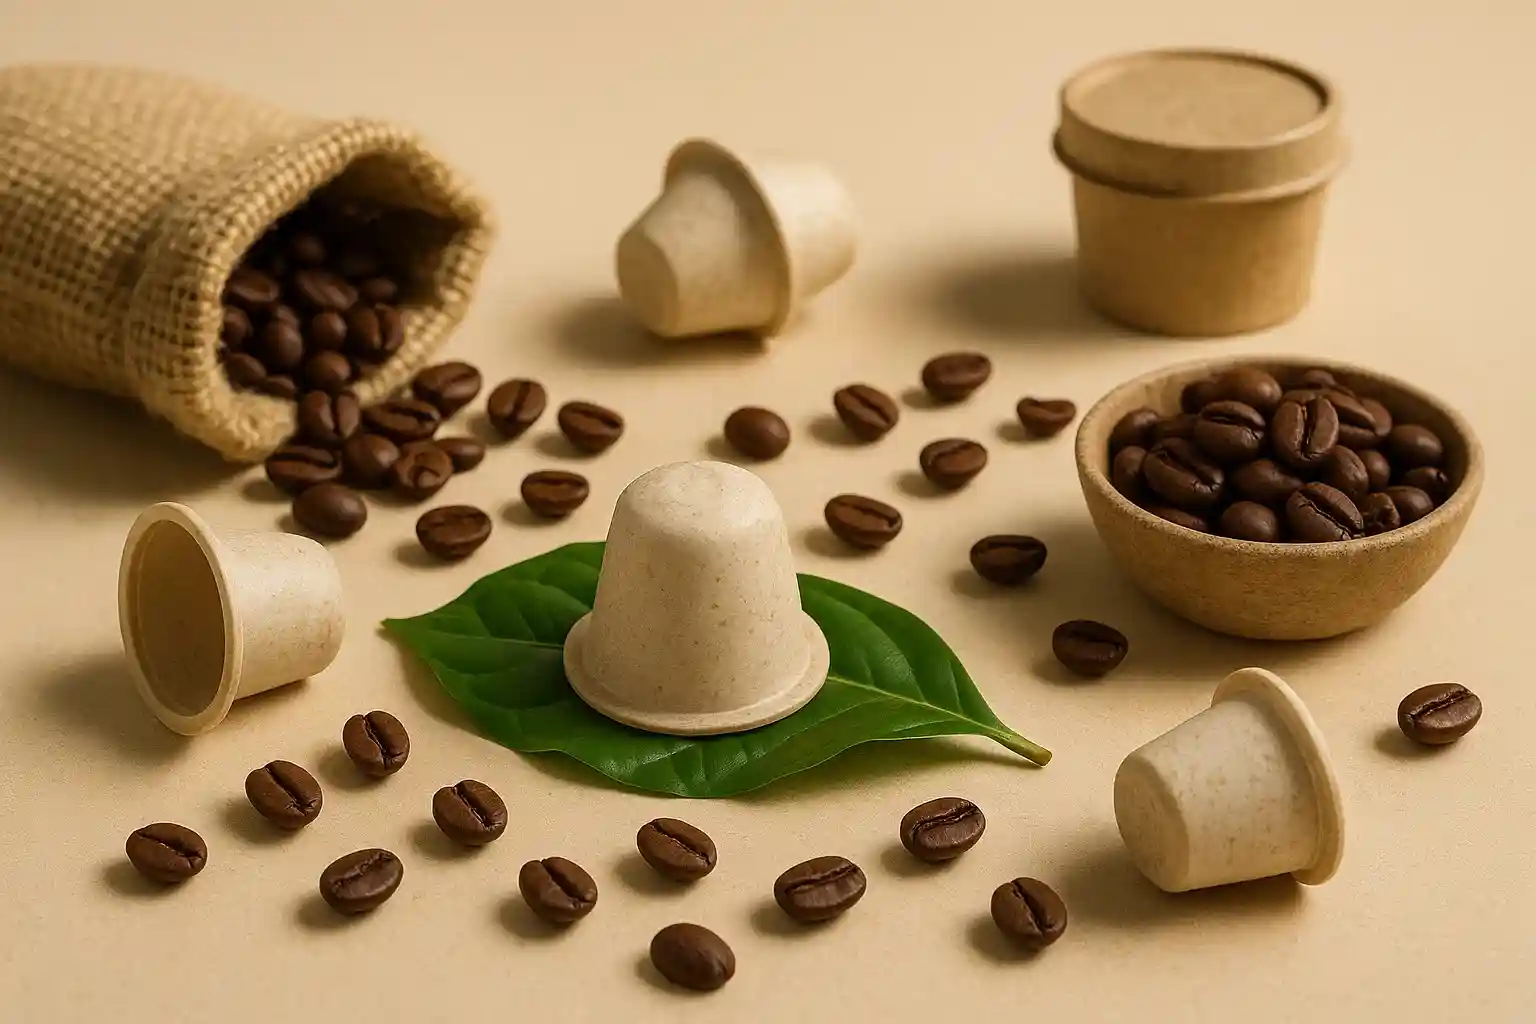
Brew Better, Waste Less: Sustainable Alternatives to Single-Use Coffee Pods
Lower waste and enjoy better flavor with reusable pods, French presses, or Moka pots.
Compost Without the Carry-On: Sustainable Alternatives to Store-Bought Compost Bags
Reduce unnecessary plastic in composting with newspaper liners, bag-free bins, or DIY liners.
Compost Happens (Even in Apartments!): Your Beginner's Guide
Practical advice and actionable tips for composting 101.
Stay in the Loop
Get tips and insights tailored to your interests — no spam, just sustainability.